Copyright © Plazathemes.
All Rights Reserved
All Rights Reserved
Layout Builder is an OpenCart 2.x and 3.x extension which help you can design layout, position, modules follow your mind. It is a module basically, so it is easy to install and use. And of course, Layout Builder is very useful for your website.
And here you can find out more about extension updates, new features and about our upcoming extensions:
- Follow us on Facebook
- Follow us on Twitter
- Follow us on TowerThemes
- Follow us on Google+
- Follow us on Youtube
- Follow us on Behance
- Follow us on Flickr
- Follow us on Linkedin
Copy or upload all folders, files in "Source Code" folder to your root website folder
Now, you can use this module immediately. It's very simple to install.
Login admin -> Extension -> Modules -> "Layout Content Builder" -> Click "Install" Button

When the page load successfully with Inform text: "Success: You have modified modules!", click "Edit" Button

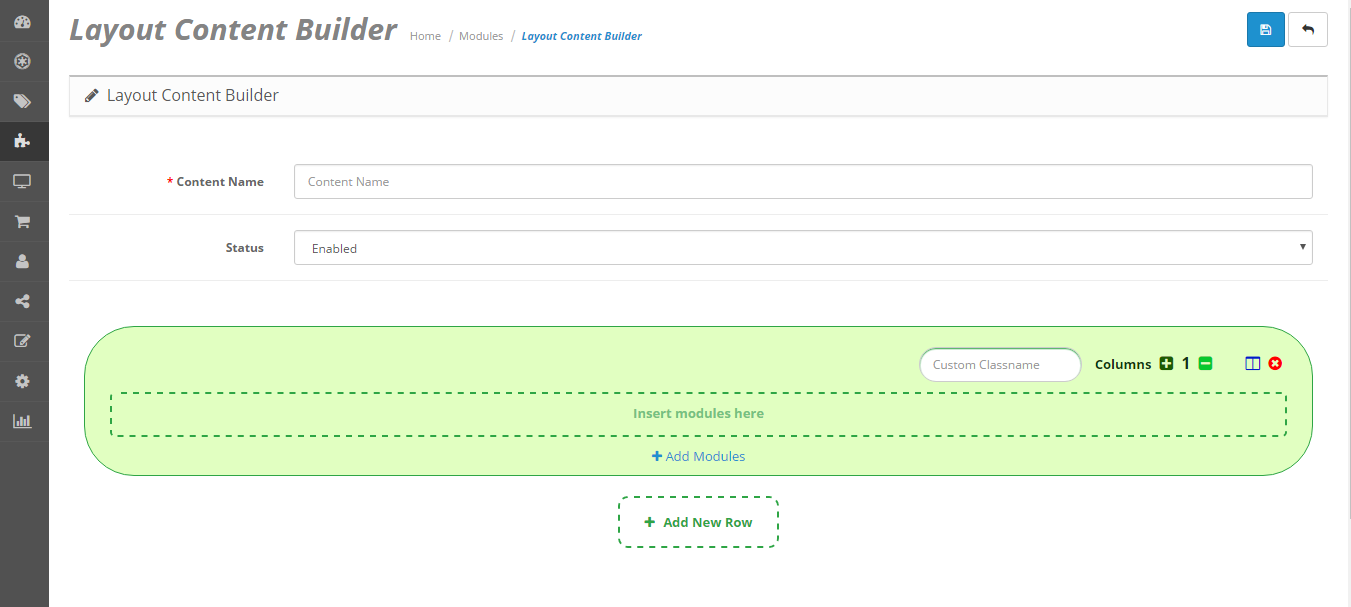
This is Layout Builder interface (with NO Sample)
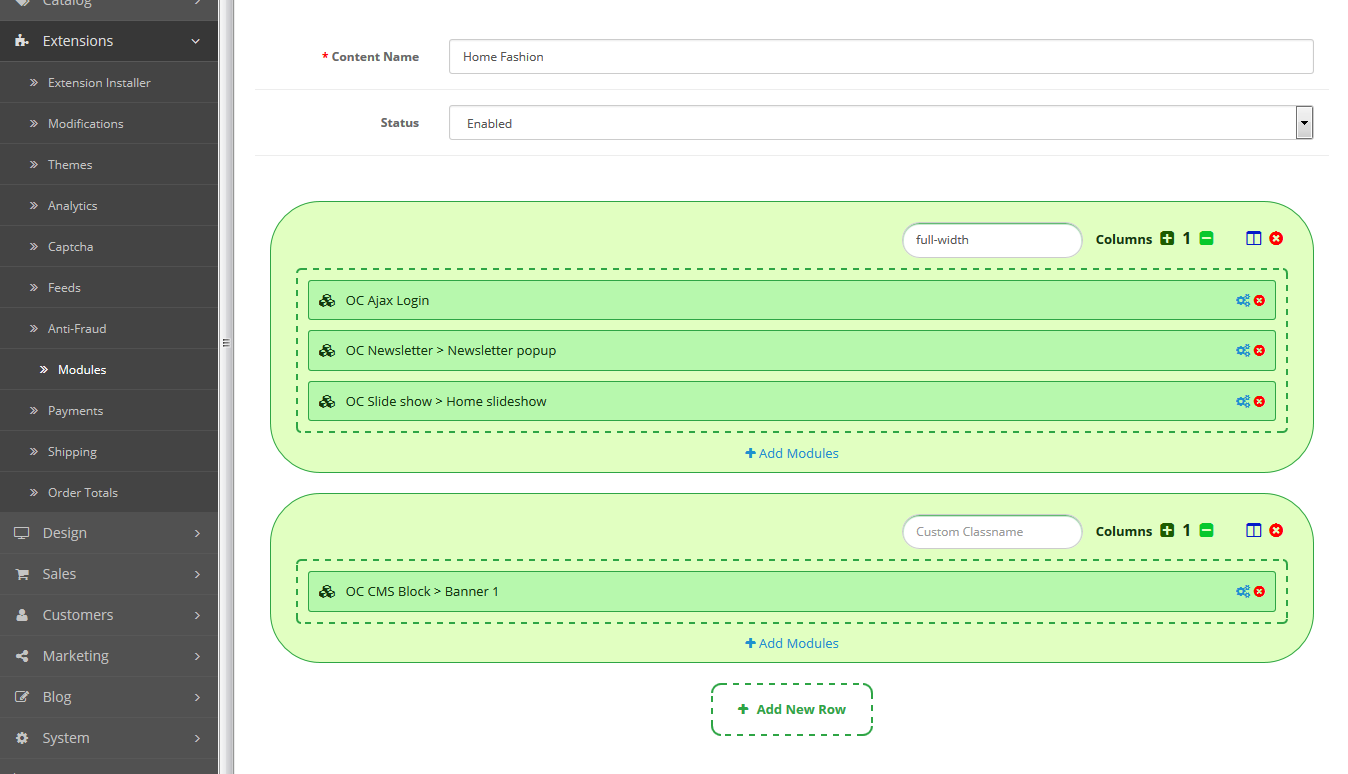
This is Layout Builder interface (with Sample)
Let me explain all parts of this module
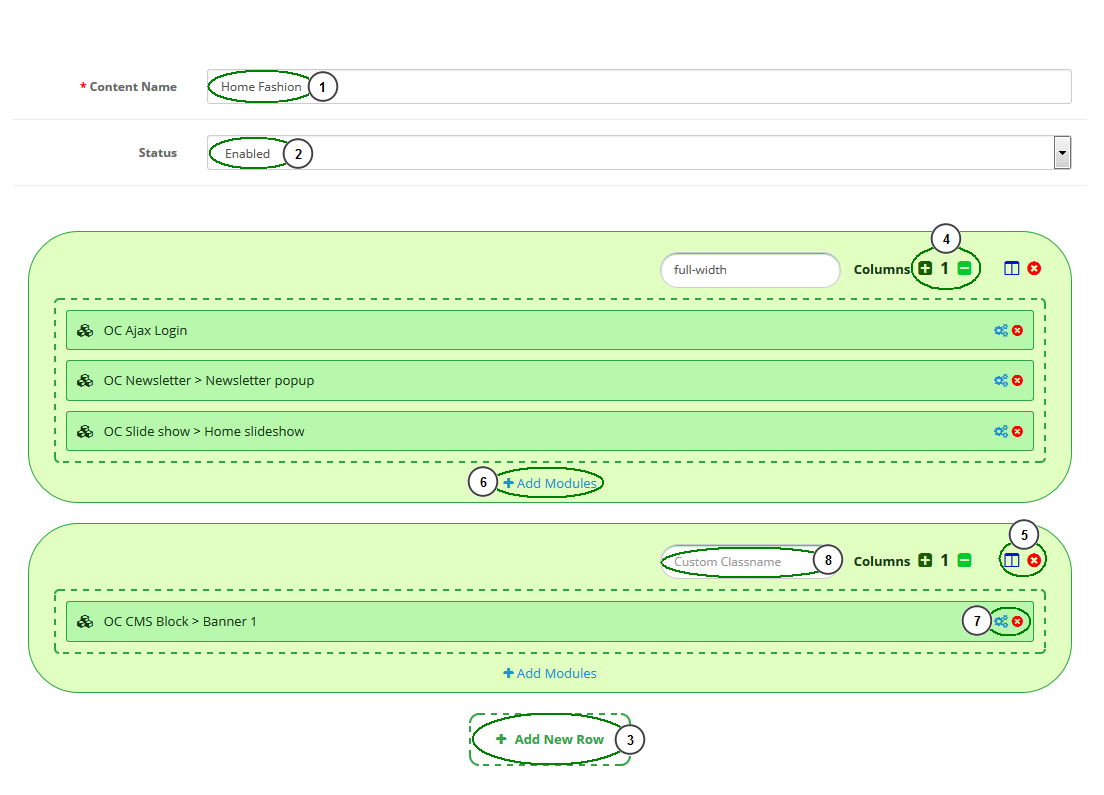
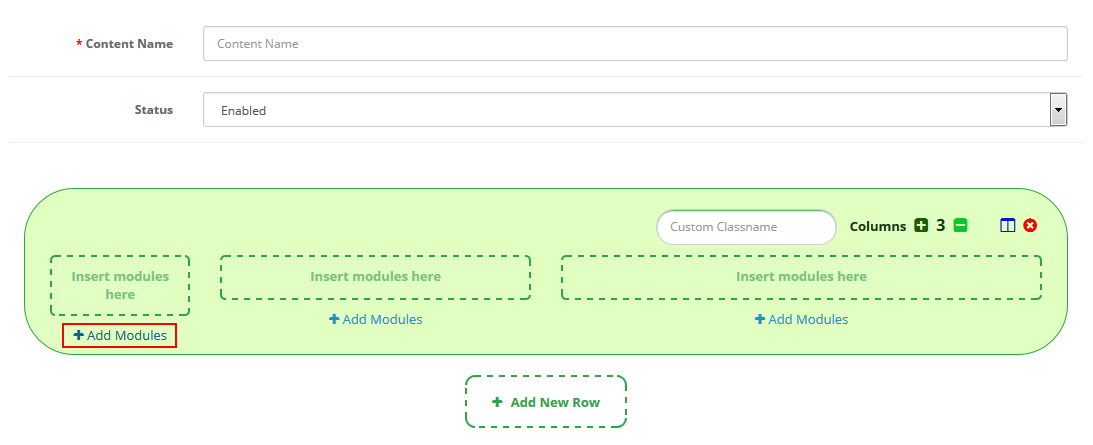
Content Name: The name of content which you will add to your Layouts in Design / Layouts
Status: This content is shown when the status is enabled.
Add Row Button: When you click this button, the new row will be added and you can modify this row by yourself.

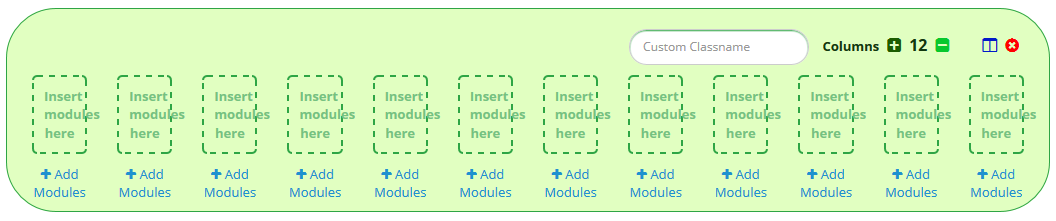
Plus / Minus Button: These buttons can divide multiple columns in a row.
All columns have a same width. The maximum of columns is 12 based on the bootstrap columns format.
2 columns

3 columns

4 columns

6 columns

12 columns
Columns Customization / Delete Row Buttons 
Columns Custom Button 
This button allows you custom columns whatever you want (based on bootstrap formart)
When you click this button, a popup will be shown
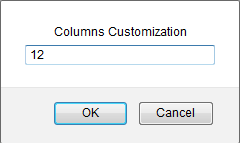
The popup above has number 12. It means there are one column in a row.
You must fill this text follow the plus format: "num1 + num2 + num3 + ..."
And also, the total always must be 12
Example 1: We set "4 + 2 + 4 + 2" and click OK (Total is 12)
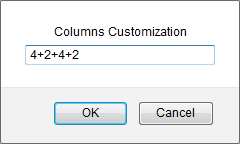
The row will be divided by 4 columns with ratio of columns width: 4/12 - 2/12 - 4/12 - 2/12

Example 2: We set "2 + 4 + 6" and click OK (Total is 12)
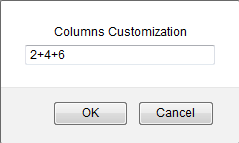
The row will be divided by 3 columns with ratio of columns width: 2/12 - 4/12 - 6/12

Delete Row Button 
You can delete row by clicking this button.
Add Modules Button: Each columns have this button. It allows you add modules for each columns.
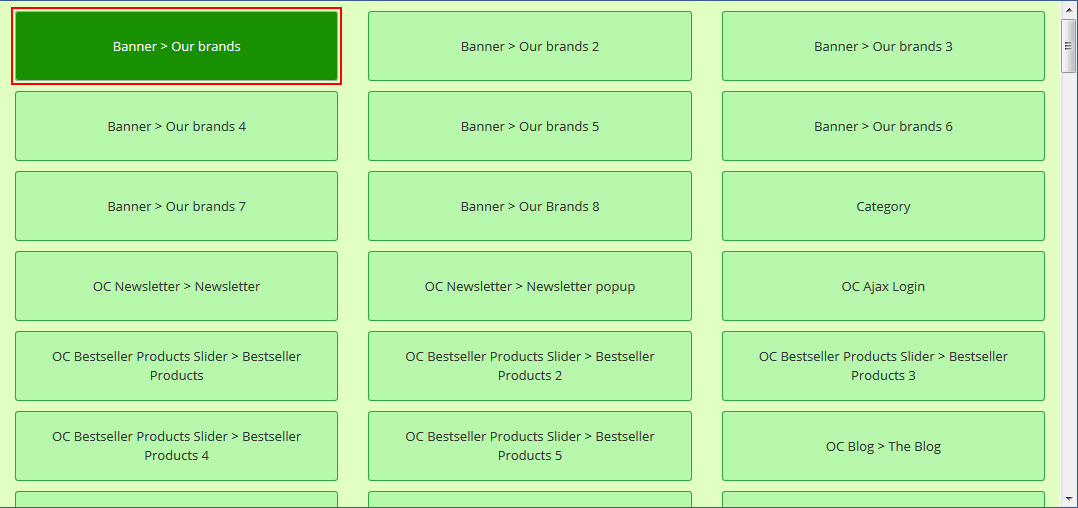
When you click this button, all extensions/modules will be shown in the popup.
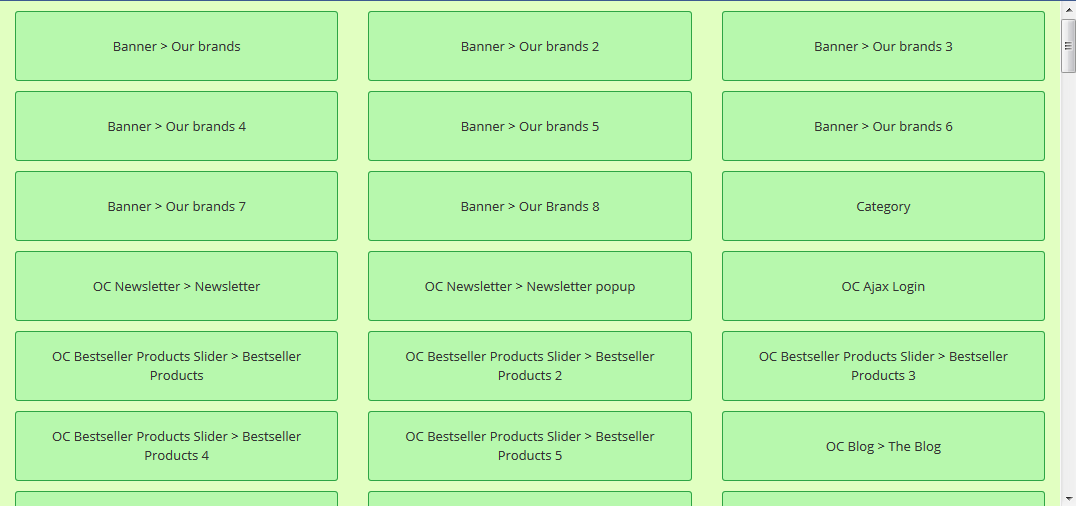
You can choose extensions/modules you want to add into column.
Example:
Click "Add Modules" Button of the first column.
Choose module "Banner > Our Brand".
Now, the "Banner > Our Brand" is in the first column.

Edit / Delete Module Button 
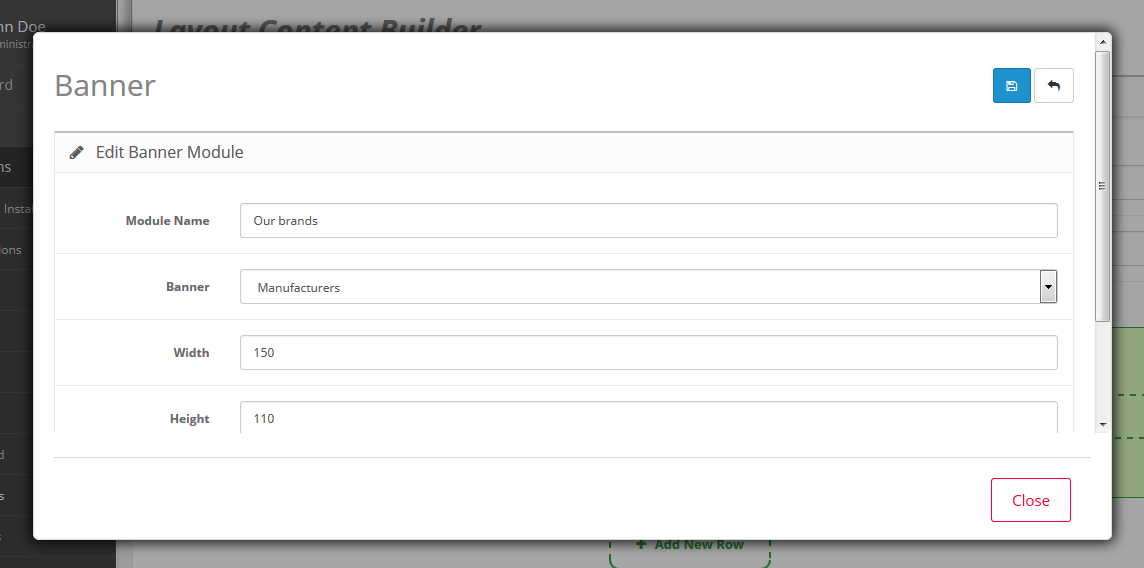
Edit Module 
When you click this button, the module settings will be shown and you can configure this module.
Example: We click this button of "Banner > Our Brand" module at the previous step
Delete Module
When you click this button, the module will be deleted.
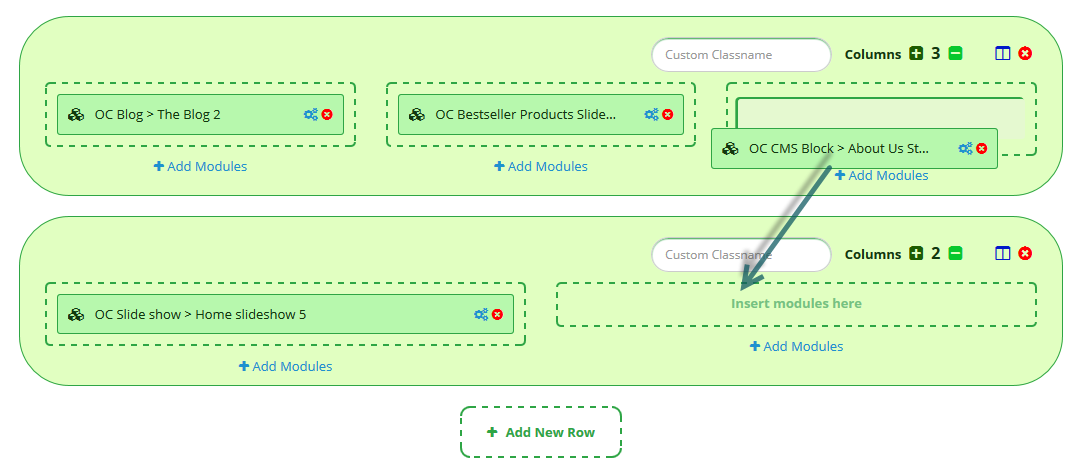
And, This is a Layout Builder Module so you can drag/drop rows and modules, of course.
Drag & Drop Rows
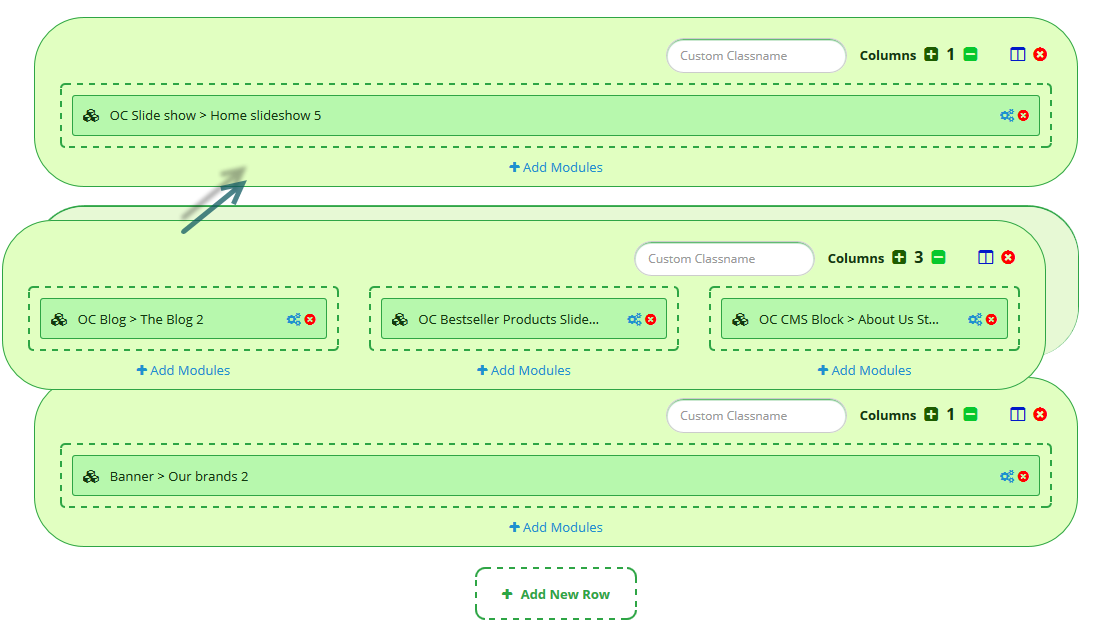
Drag & Drop Modules
When you finish your settings, click "Save" button.
Example: We have "Home Content" and Save it.
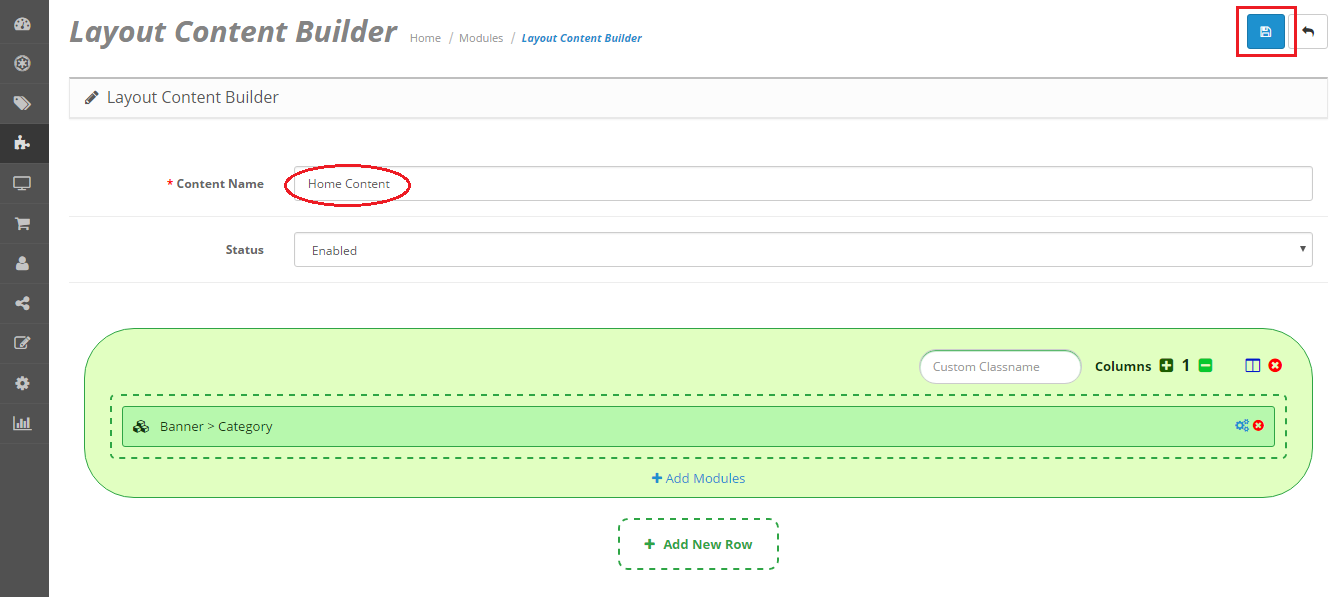
Now, we have "Home Content" at the above steps.
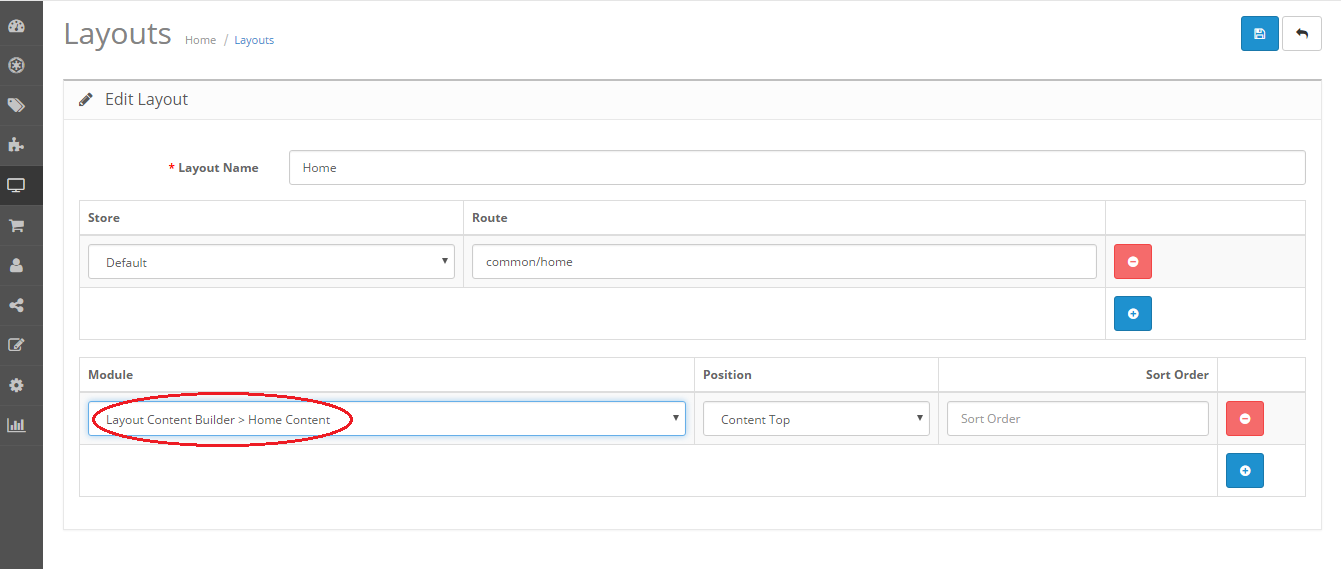
Go to Design -> Layouts, click Home layout Edit button. (you can choose other layouts to set other pages)
You just add "Home Content" module and Save
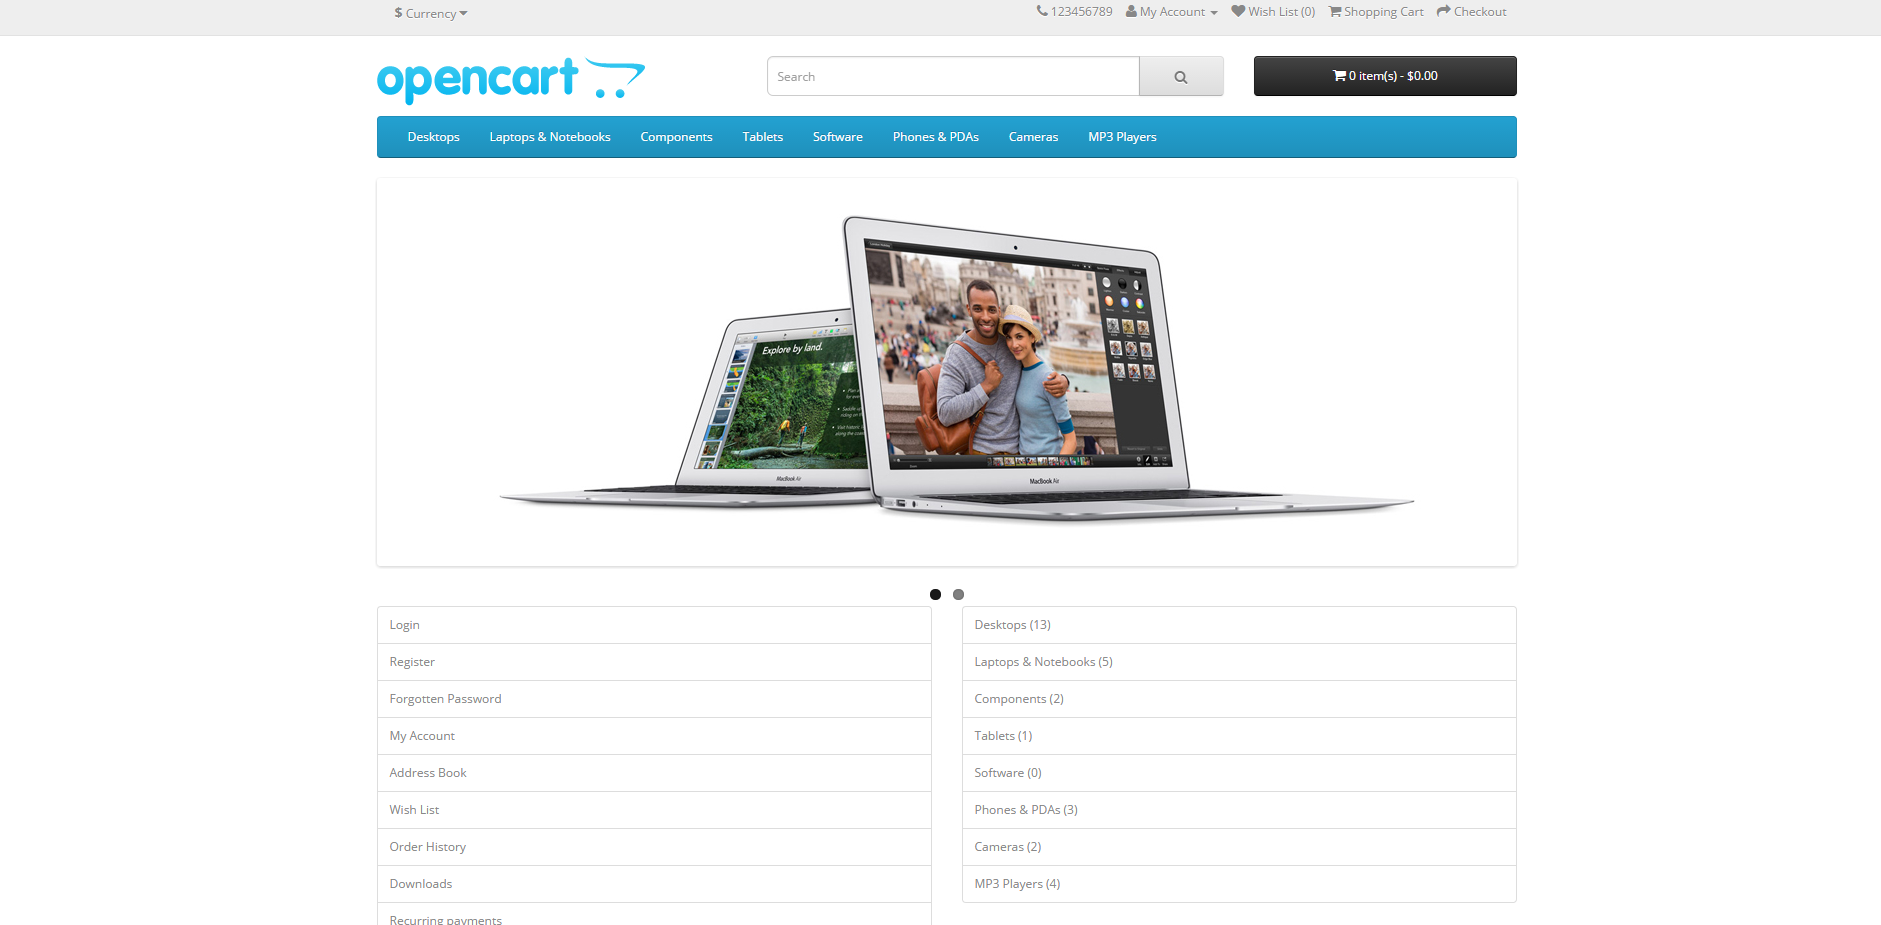
Now, all settings have shown in the Home Page correctly.
Support Working time: Monday - Friday
Estimated ticket and answers review time: 1-3 business days.
We have hundreds of questions and provide answers asap, but this can take up to 3 days after your submitted request. Please be patient and wait for answer.
Contact us whenever you need : TowerThemes Support or PlazaThemes Support